I promised to post that sourdough bread recipe, and here it finally is.
Before this recipe, my breads were mostly failures. I don’t like bread machine bread, but my hand-made bread always failed to rise, no matter what I did. My yeast was alive; I was kneading as indicated. Yet my breads failed. This was especially sad about the sourdough, because I’m from Northern California, land of plenty for sourdough bread. There is no good sourdough bread to be found in Utah. When I first moved here, I thought I might starve. And then recently I found this recipe. It had been in one of my favorite old cookbooks all along. (I heavily modified it, though. All that failed bread had taught me some tricks.) I don’t know why, but this recipe works for me. I hope it works for you.
Note on ingredients: This recipe requires you to have a starter. If you’re local, ask me for some of mine. If not, good luck. I didn’t start my own starter from scratch, so I can’t advise you on that one. I can say that starters are incredibly hardy once you get them going. I would leave mine to sit for 6-9 months in the fridge at a time between bouts of non-rising bread, and it lived. They’re easy to feed, and they don’t pee on the carpet.
Note on time: This recipe will take about 20 minutes of your time spread out over 6-8 hours. You can leave it to rise for 12 hours or more if you’re busy and don’t get back to it on time. I know because sometimes I get distracted.
Ingredients:
1 c sourdough starter
1 T yeast
2 T sugar
1 t salt
1 t baking soda
warm water
6-8 cups flour
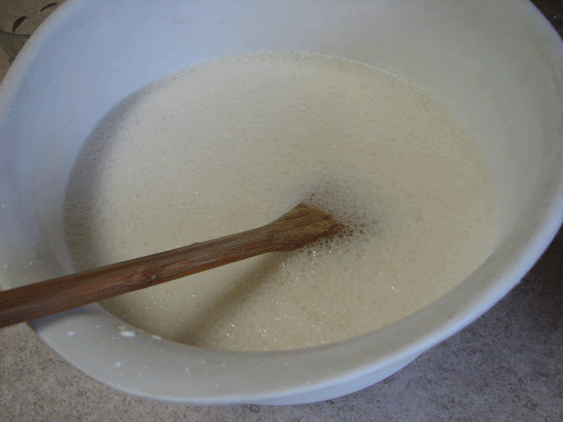
Prep: If your yeast is refrigerated, let it sit until it comes to room temperature. Also, if you haven’t used it recently, proof it. Starting this recipe with dead yeast with only end in tears. If your starter is refrigerated, let it sit out for several hours, too. Before you start, you want your starter to be all bubbly, like this:
It should also have a sour smell to it, like concentrated sour dough. That means your little bacterial colony is alive and well. Yay bacteria.
Now take 1 tablespoon of yeast and 2 tablespoons sugar and dissolve it in 2 cups warm water. (I use hot tap water. You don’t want it to be too hot, I’m told, or you’ll kill the yeast. This is one of the many problems I ruled out when my bread would not rise.) I like to let this sit for a minute or two until it starts smelling yeasty. That’s not necessary, but it comforts me that the yeast is, in fact, alive.
Add one cup starter, one teaspoon salt, and one teaspoon baking powder. As you stir, you should see some foaming action, like this:
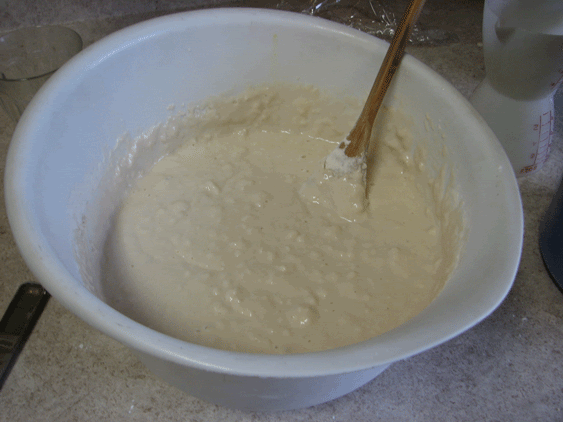
Now add three cups of flour and stir. That’s less than half the flour you’ll eventually add, but you’re going to let the dough rise at half-flour strength before adding the rest.
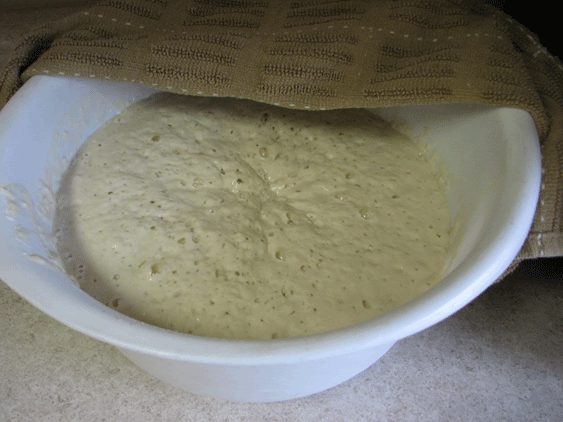
Cover with a towel and let sit for three to four hours, or until it looks like this:
At this point, add another 3.5 to 4 cups flour, and knead the dough for about ten minutes. This dough should be soft and easy to knead. When you’re done kneading, it should have that smooth, cohesive, I-am-going-to-rise-gosh-dang-it bread dough texture.
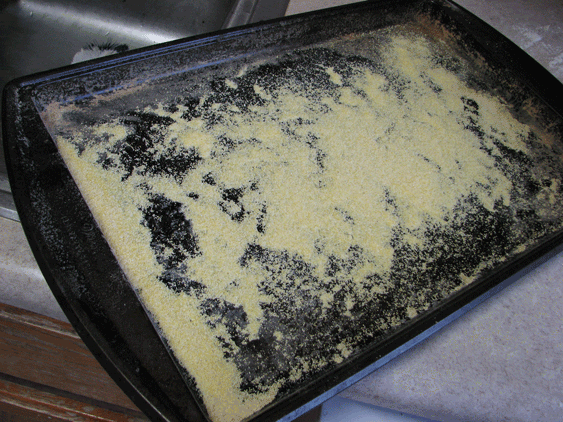
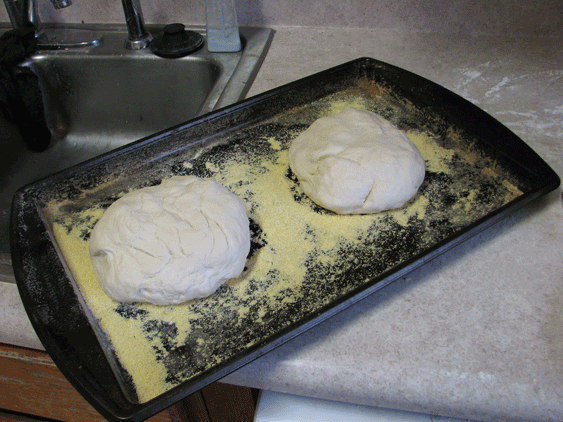
Now, cover a cookie sheet with corn meal, like so:
Divide your dough into two balls, and place on cookie sheet, like so:
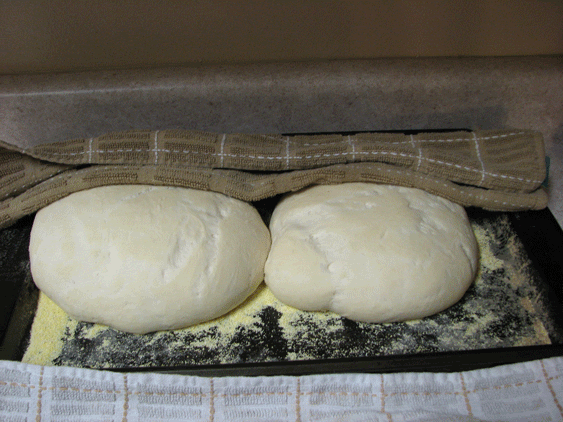
Cover with a towel, and let rise for another 2-3 hours. Do you hate waiting? I do. But this bread is worth it.
You are done waiting when the bread has doubled, like this:
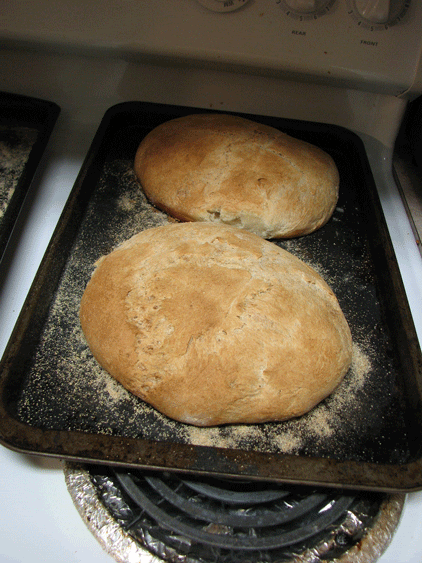
Now preheat your oven to 400 degrees. (I’m terrible. I don’t always preheat. See my feelings on waiting above.) Brush the loaves with water. This is supposed to improve the crust. Then pop them in the oven for 45-50 minutes.
When you’re done, you should have these:
Many happy sourdoughs to you and yours. Happy Holidays.


